How to Install and Remove SFP Transceivers
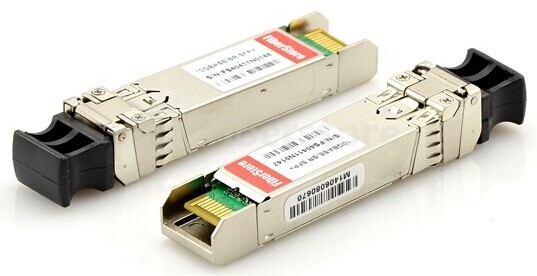
The small form-factor pluggable (SFP) is a compact, hot-pluggable transceiver used for telecommunication and data communications. The form factor and electrical interface are specified by a multi-source agreement (MSA). It interfaces a network device motherboard (for a switch, router, media converter or similar device) to a fiber optic or copper networking cable. SFP transceivers can support SONET, Gigabit Ethernet, Fibre Channel, and other communications standards. SFP transceivers are upgraded from the traditional version with more flexibility but a smaller size.
Sometimes you may encounter the affairs like installing or removing fiber-optic SFP modules with cables attached. In fact, this is wrong. Because that way may cause damage to the cables, the cable connector, or the optical interfaces in the SFP module. Disconnect all cables before removing or installing an SFP module. Followings are some tips when installing and removing SFP transceivers.
The following steps tell how to install SFP transceivers: 1. Attach an ESD-preventive wrist strap to your wrist and to the ESD ground connector or a bare metal surface on your chassis. SFP modules are static sensitive. Wear an ESD-preventive wrist strap so that it can prevent ESD damage. 2. Remove the dust cap and save for future use. 3. Insert the SFP module into the socket. The orientation of an SFP module within a switch varies according to the SFP module port. Be sure that the SFP module is in the right position before inserting. 4. Observe the LED. If the LED turns green, it means the transceiver and the device establishes link successfully. While if the LED is off, there may be an installing problem with the adapter.
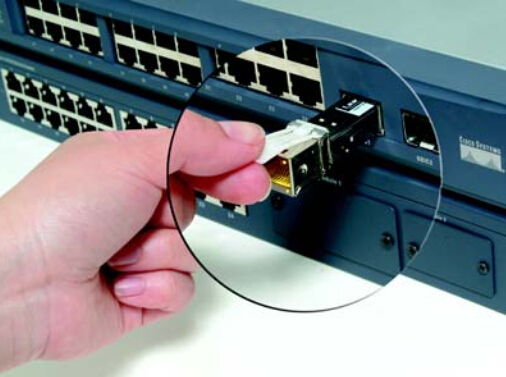
To remove a SFP transceiver (see the picture), you should the following procedures keep in mind: 1. Attach an ESD-preventive wrist strap to your wrist and to a bare metal surface on the chassis. 2. Disconnect the network cable from the SFP transceiver. 3. Remove the SFP transceiver carefully from the module slot. 4. Place the removed the SFP module in a static shielding bag.
In addition, to connect 1000BASE-T SFP transceiver modules (such as HP J8177C SFP transceiver) to a copper network, follow these substeps: insert the Category 5 network cable RJ-45 connector into the SFP transceiver module RJ-45 connector. And then insert the other end of the network cable into an RJ-45 connector on a 1000BASE-T compatible target device. When connecting to a 1000BASE-T-compatible server, workstation, or router, use four twisted-pair, straight-through Category 5 cabling for the SFP transceiver module port.
Do not remove the dust plugs from the fiber-optic SFP module port or the rubber caps from the fiber-optic cable until you are ready to connect the cable. The plugs and caps protect the SFP module ports and cables from contamination and ambient light.
The above is about the installation and removing of a SFP transceiver. But keep in mind that removing and installing an SFP module can shorten its useful life. Therefore, do not remove and insert SFP modules more often than is absolutely necessary.